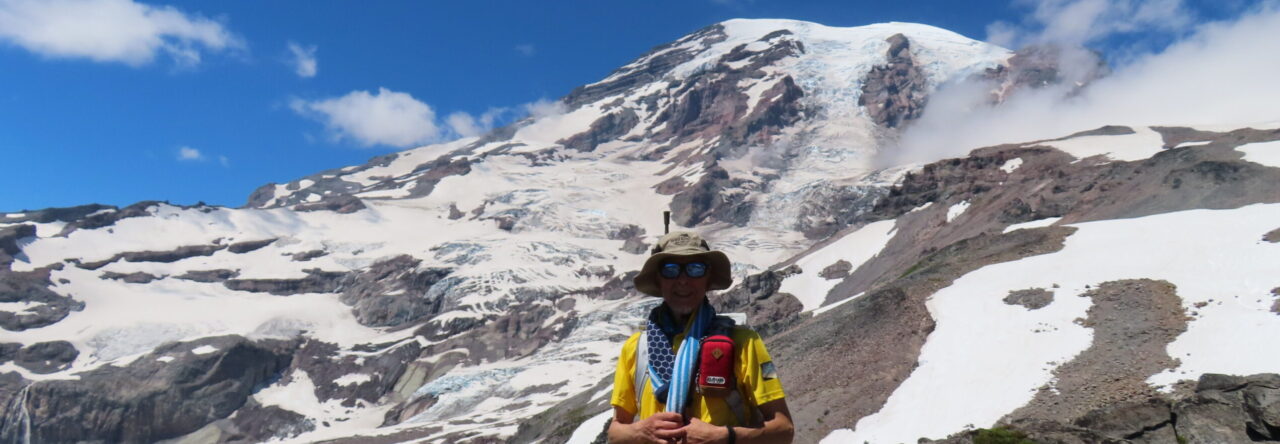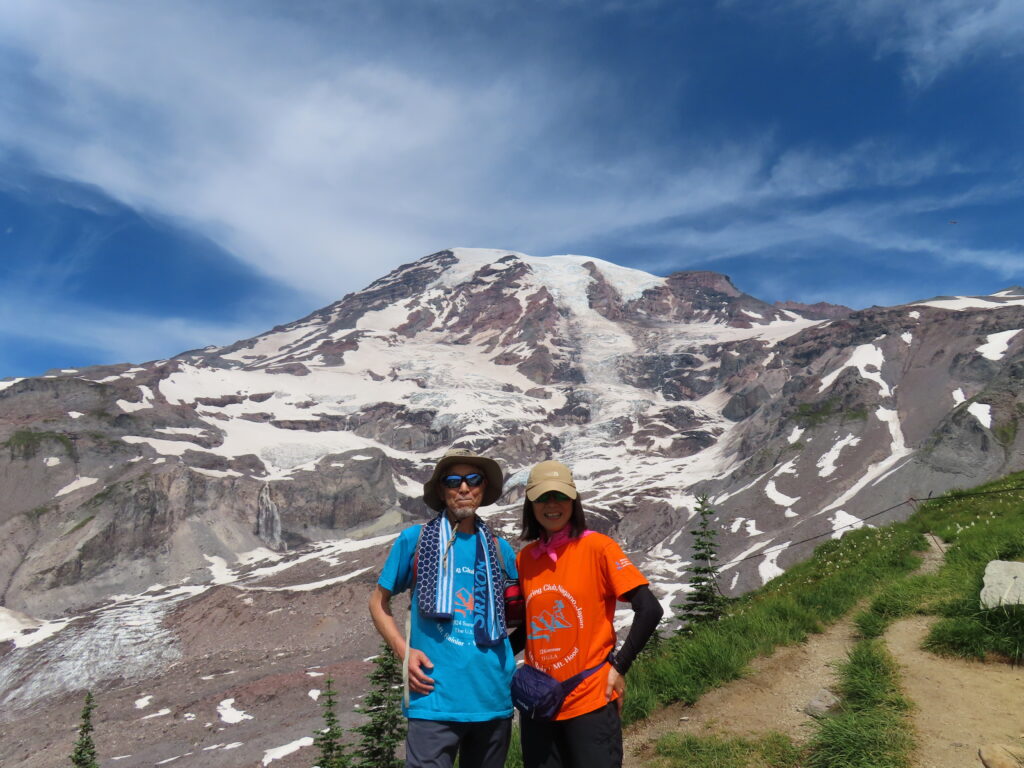
Beginning Our Hiking Adventure
Sachi and I arrived at Seattle Sea-Tac International Airport at 11:30 am on July 30th, an hour later than expected. After smoothly picking up the rental car from the airport’s facility, we set off for Portland, OR, around 1:00 pm. Let the adventure begin!
Mt. Hood National Forest, Oregon: 3-days
Portland, the largest city in Oregon, was once ranked among the most desirable places to live in the U.S. Located about 100 km east of Portland, Mount Hood National Forest is home to Timberline Lodge, a mountain lodge and year-round ski and snowboard resort.
Itinerary:
Day 1: Explore downtown Portland and stay at a hotel.
Day 2: Traveto to Tollgate Campground in Mount Hood National Forest.
Day 3: Climb Mt. Hood
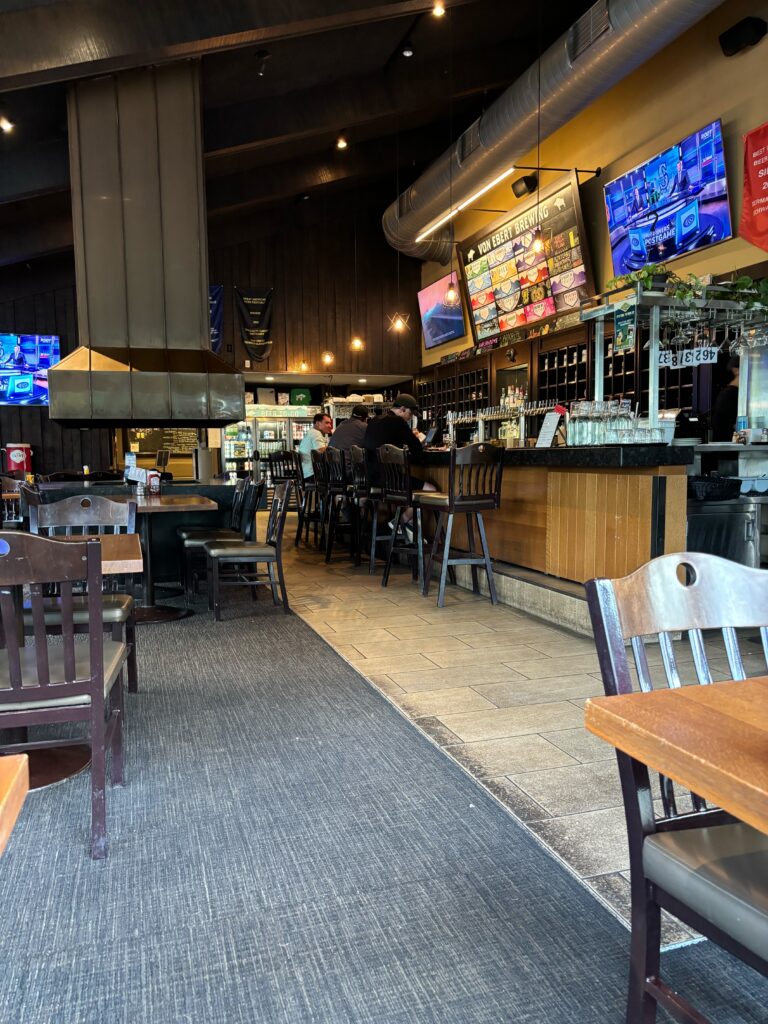
Day 1: Enjoy a craft beer
Portland is a beer lover’s paradise, boasting over 70 breweries. Visitors can explore a wide array of innovative craft beers, many of which are unique to the city.

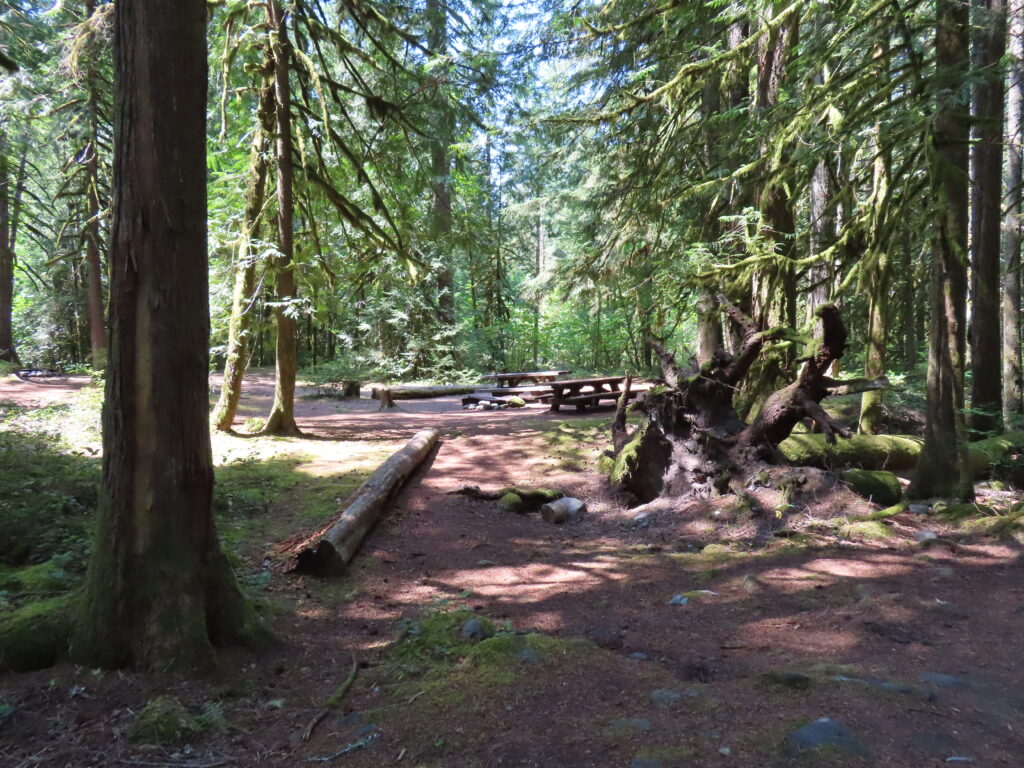
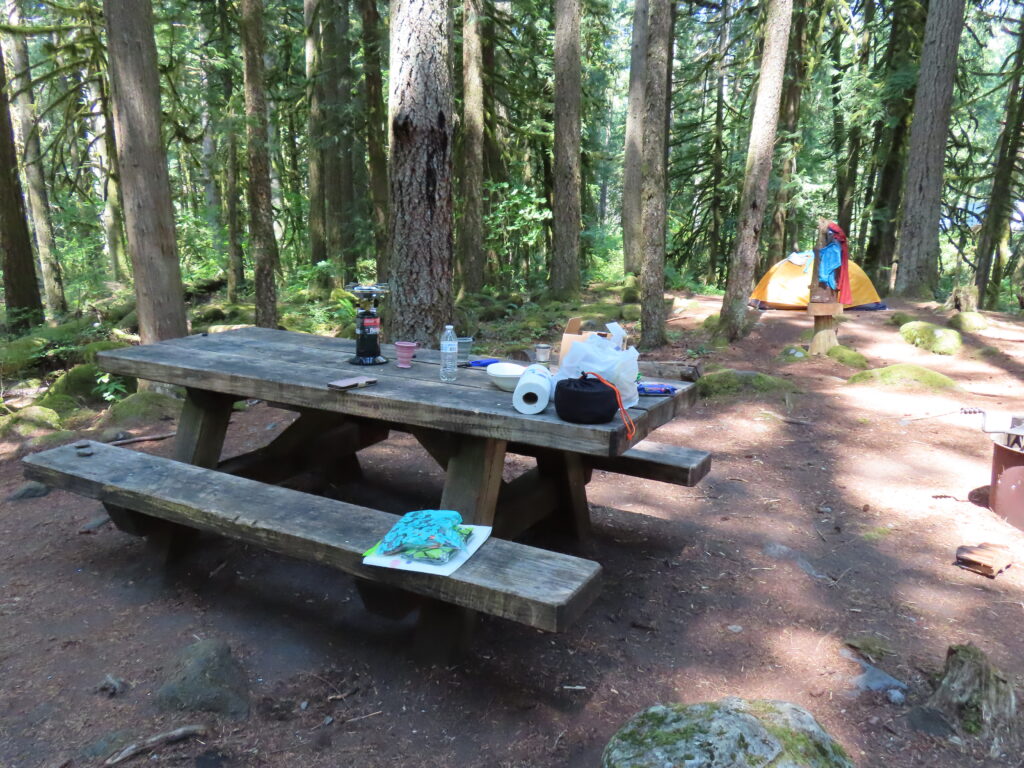
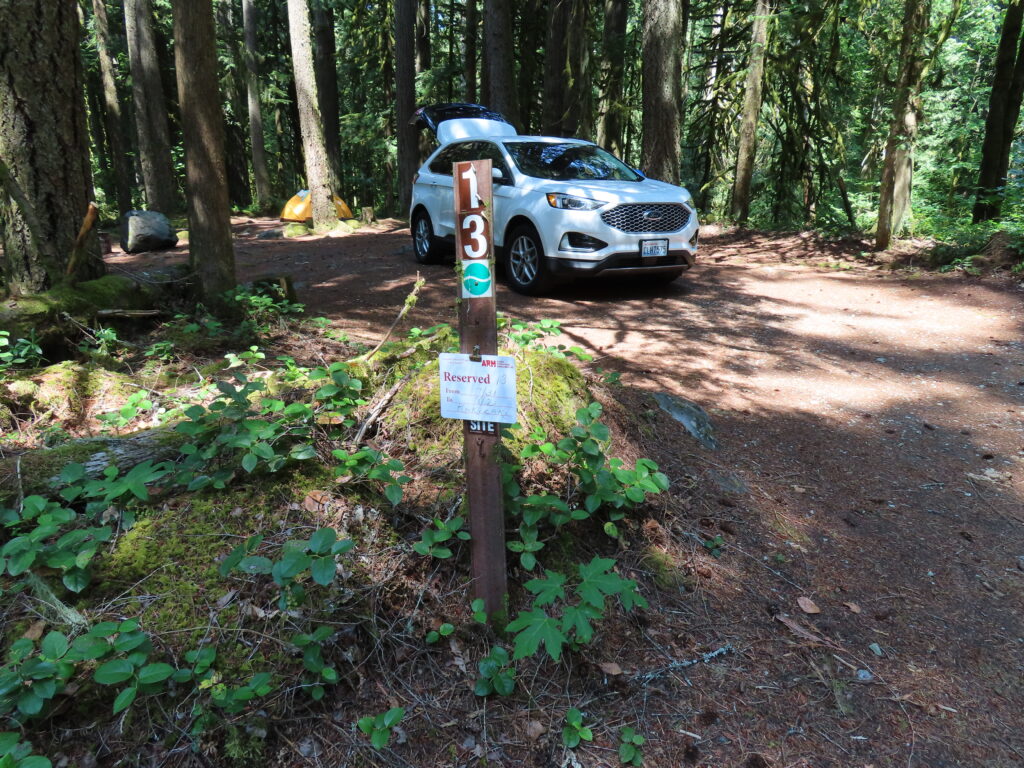
Day 2: Tollgate Campground and Timberline Lodge
We headed to Tollgate Campground in the National Forest and stopped by a grocery store on the way to pick up food, drinks, and other supplies for a two-day camping trip.
After setting up my tent, We visited the visitor center and Timberline Lodge in the National Forest to check the climbing route and conditions for tomorrow. I noticed several hikers there, putting on heavy backpacks with ice axes, who had likely already reached the summit of Mt.Hood.
I asked one of them about the route conditions and how long it took to reach the top. He said, “It wasn’t in bad condition up there; there were fewer falling rocks than I expected. We started at 2 AM from Timberline Lodge, and it took about 8 hours.”
Temberline Lodge, Oregon
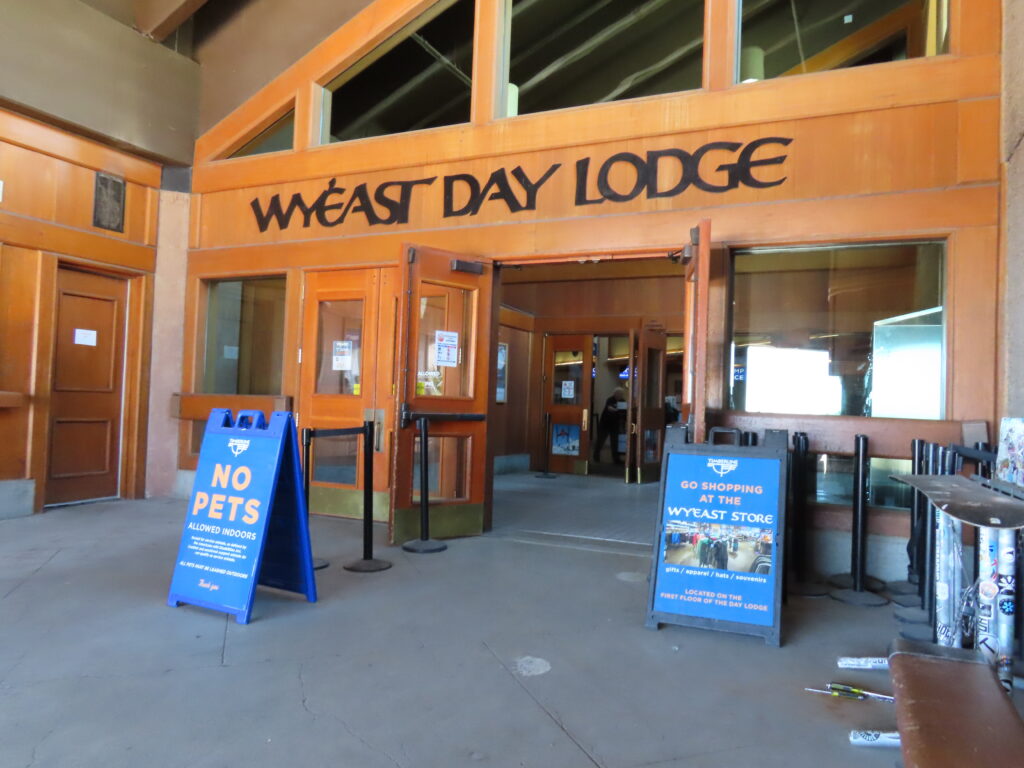
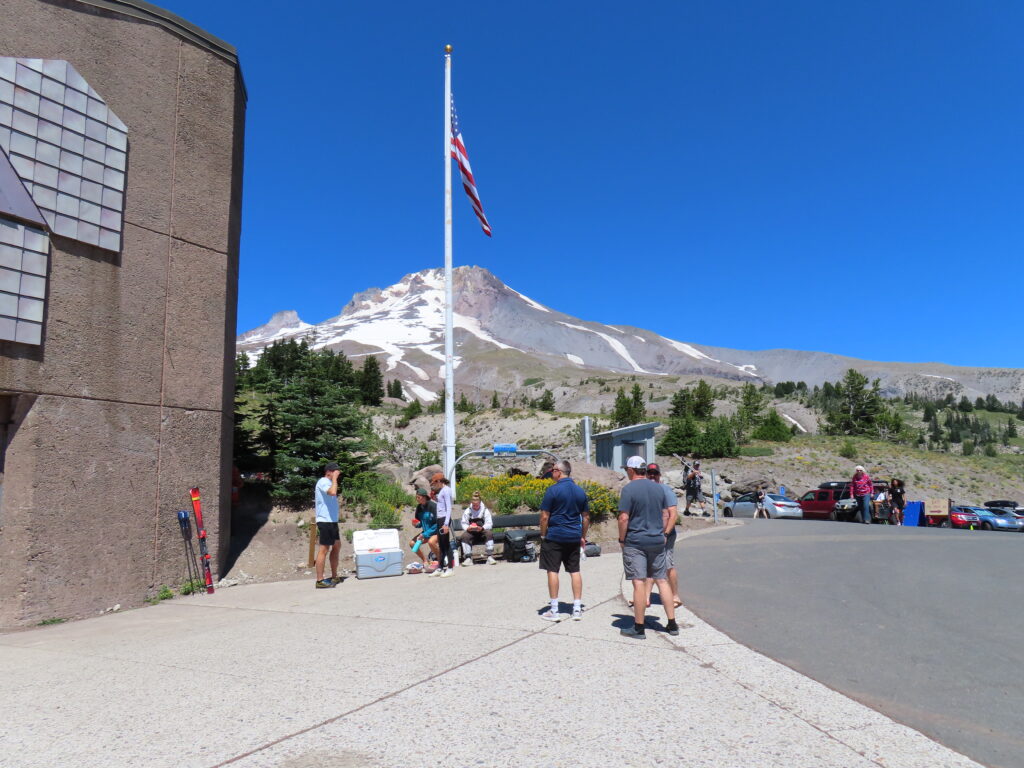
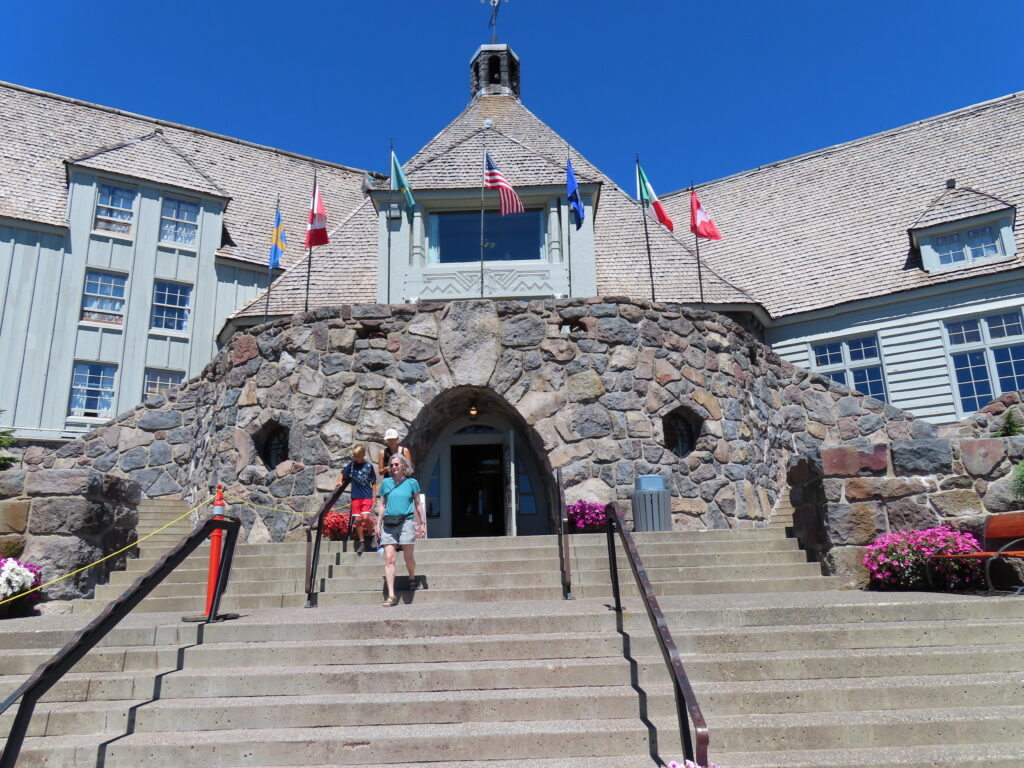
Timberline Lodge provides exciting, family-friendly skiing, snowboarding, mountain biking, and year-round recreation. They offer the best in historic lodging, fine dining, and memorable experiences.
Day 3: Challenging Top of the Mt. Hood
2:00 AM: Woke up early to prepare for the hike, ensuring We had all the necessary gear and provisions for the climb.
3:00 AM: Registered for the climb at the Mt. Hood Visitor Center. This step was crucial for safety, as it informed the authorities of my planned route and expected return time.
3:15 AM: Started the ascent from the trailhead at Timberline parking lot. The trailhead is the beginning of the official climbing route, marking the start of my journey up Mt. Hood.
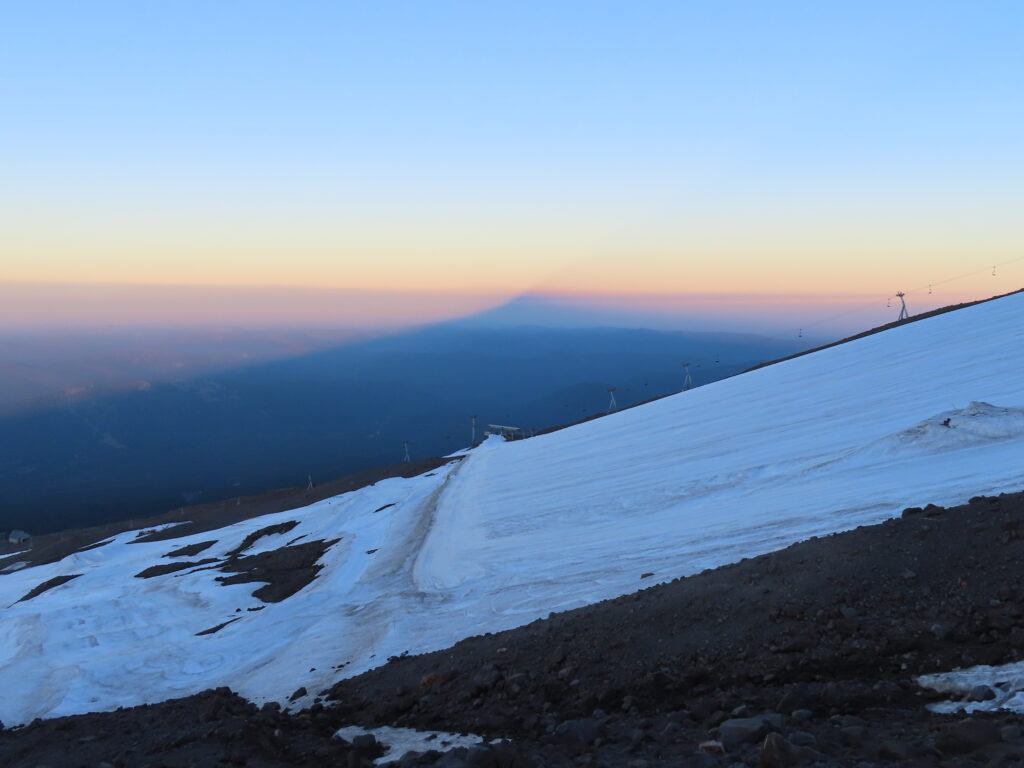
4:00 AM: After reaching a mountain hut along the trail, We continued on, but the path soon became less defined, making the route unclear due to the darkness. We carefully followed the footprints left by previous climbers across the rugged snowfield, which served as my only guide. Meanwhile, Snowcats—heavy-duty vehicles designed for grooming the snow—were operating nearby, their lights casting an eerie glow across the white expanse. For the next three hours, we ascended through a mix of snow and rugged terrain. By around 6 AM, the sun began to rise behind the mountain, casting its shadow in the air—a breathtaking and almost spiritual sight.
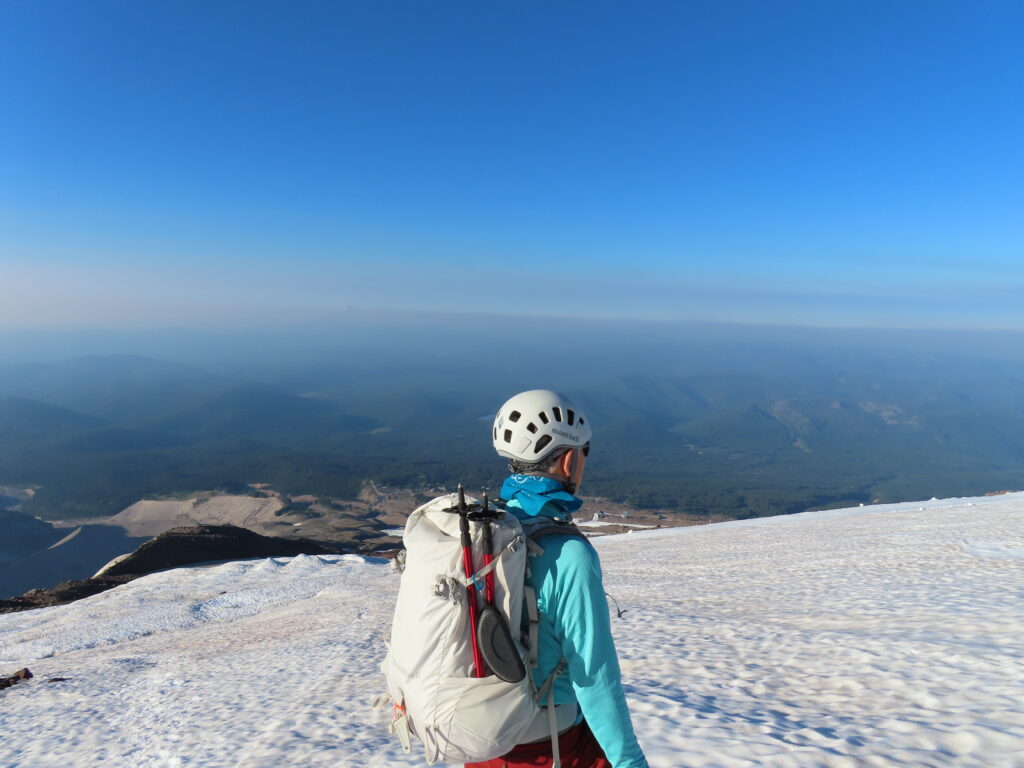
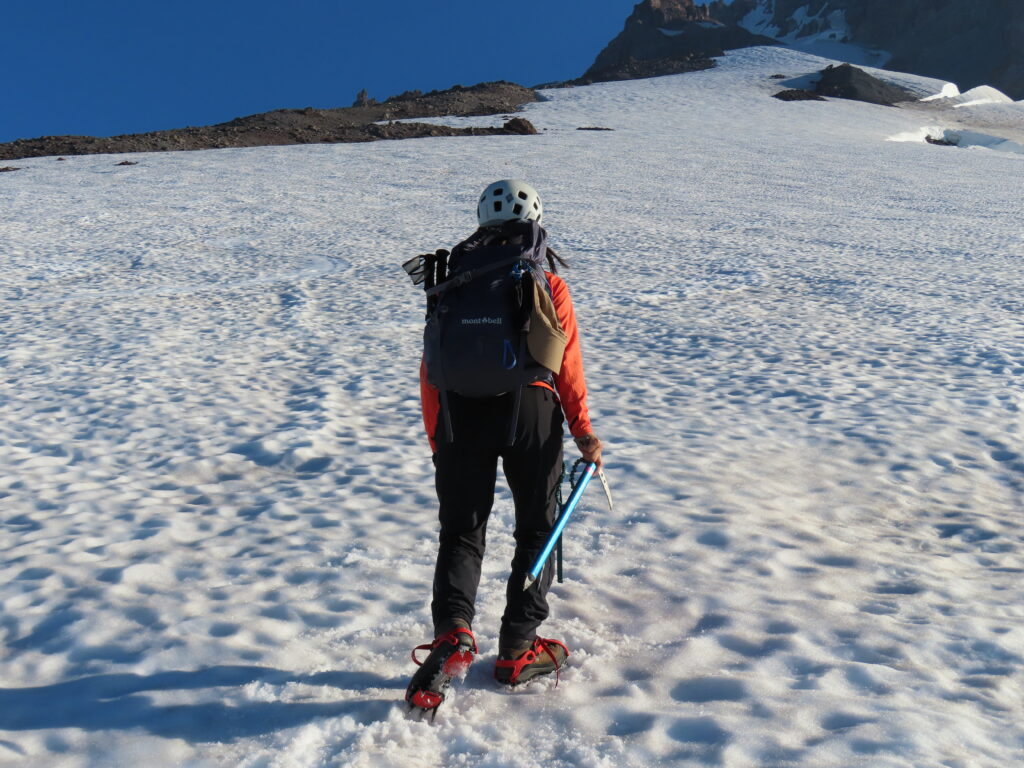
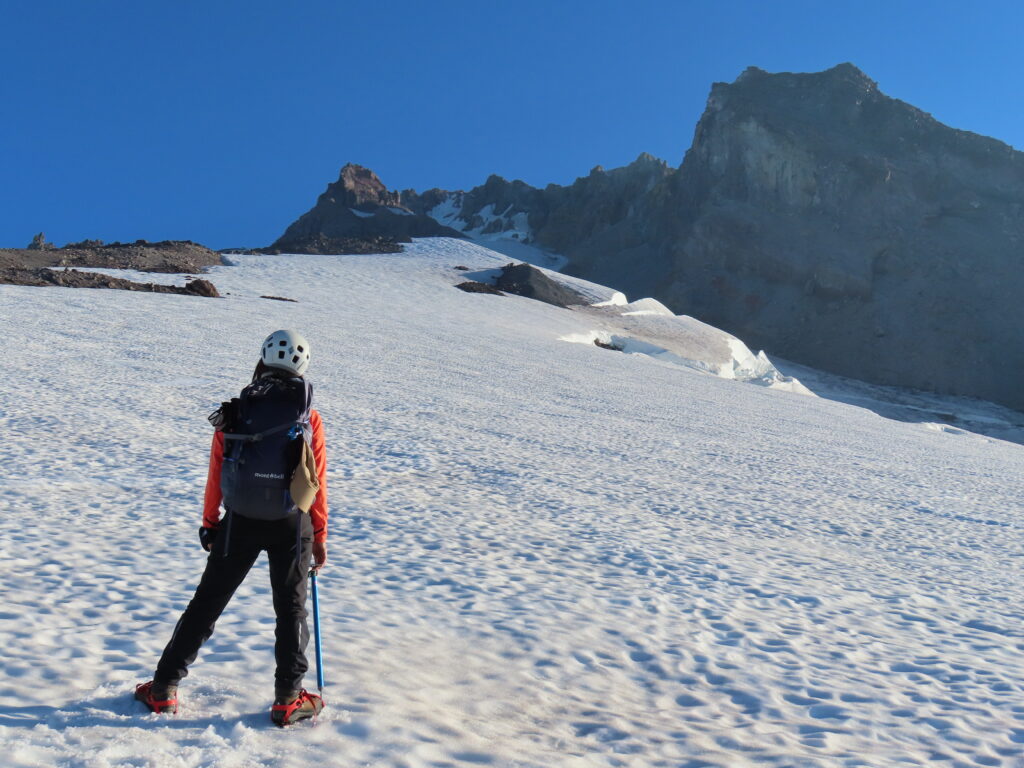
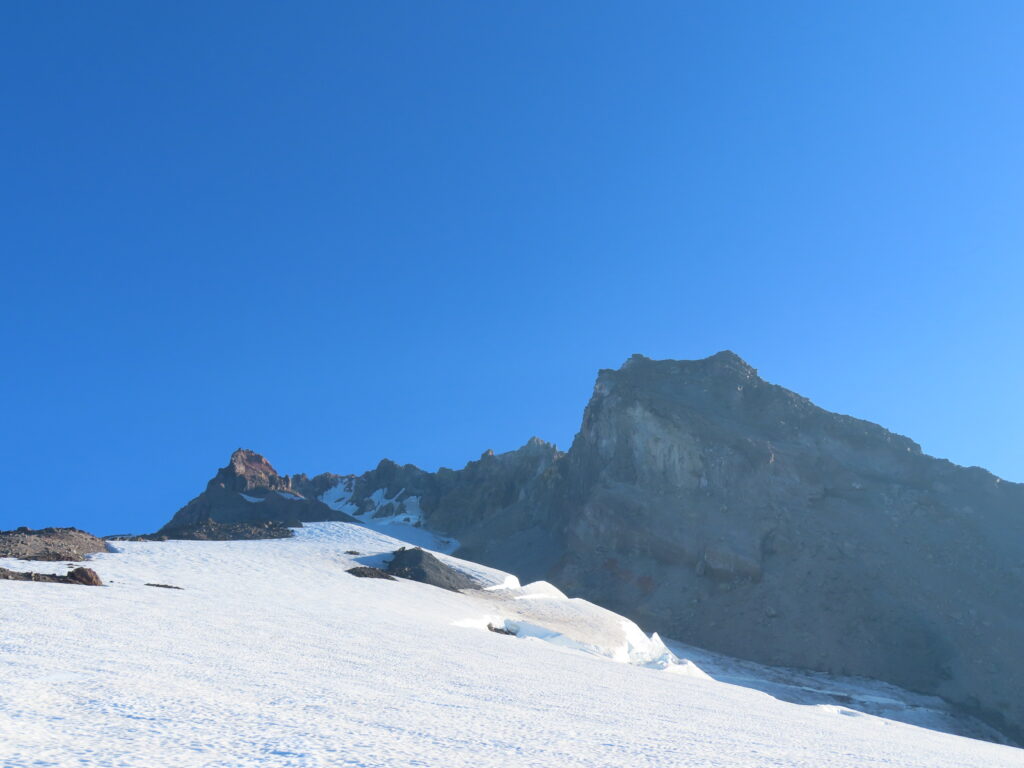
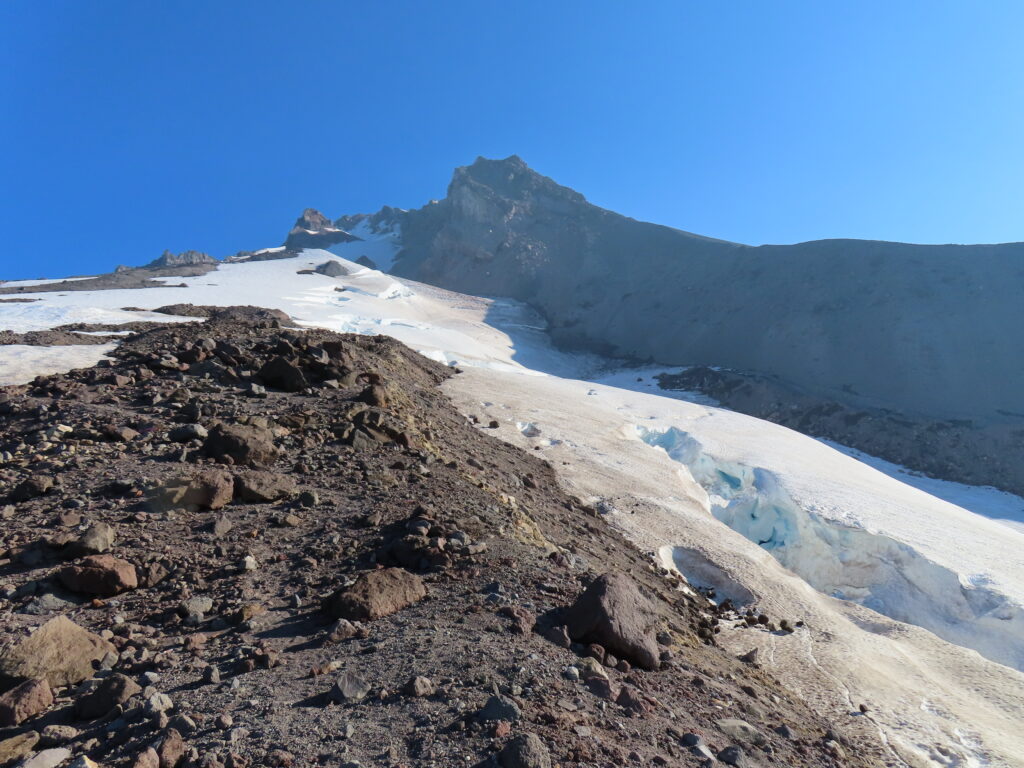
8:00 AM: Reached the boundary of the glacier field and craggy terrain. From here, we needed to use crampons and an ice axe to continue. After hiking for 8 hours, fatigue was setting in. Sachi and I assessed our physical condition and evaluated the feasibility of reaching the summit.
Mount Rainir National Park, WA: 3-days
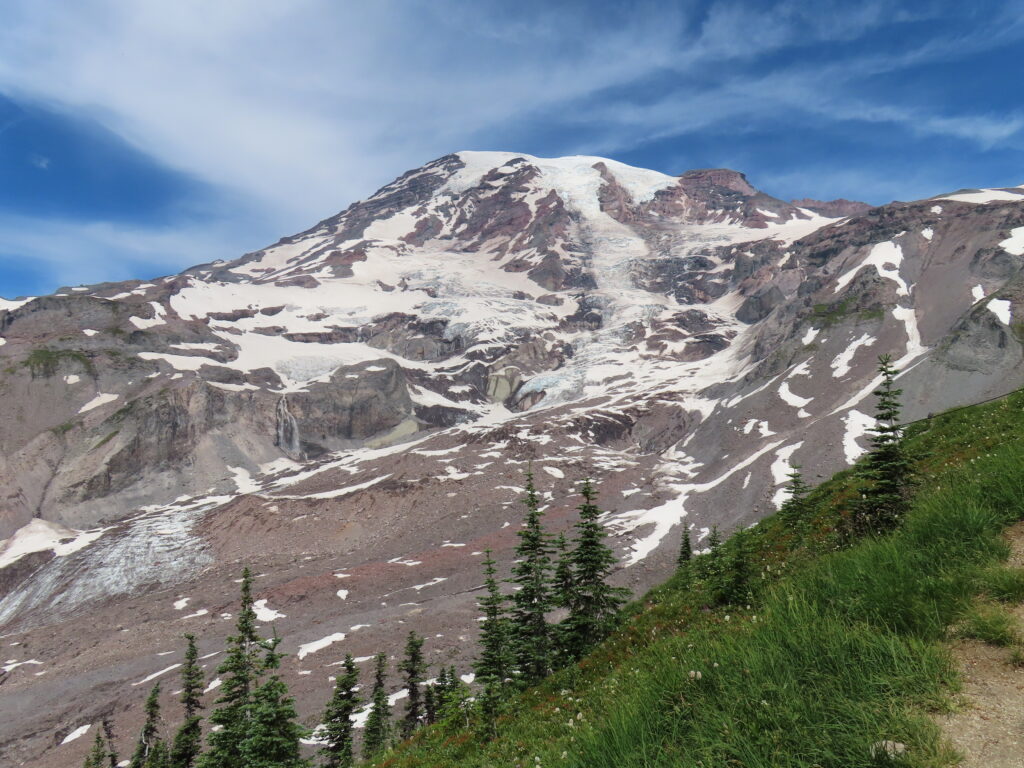
Camp Muir
The trek is exhilarating but is not a hike to be taken lightly. It’s tougher than it looks and the weather can change unexpectedly; it’s been said Mount Rainier makes its own weather. Conditions can change from hour to hour, from summer to winter conditions. Sudden fogs or whiteouts are not uncommon where visibility is limited or nil. This hike is only recommended for strong, experienced hikers, who are prepared with the right clothing and equipment, route-finding skills, those who know their limits and when to turn around when conditions are unfavorable.
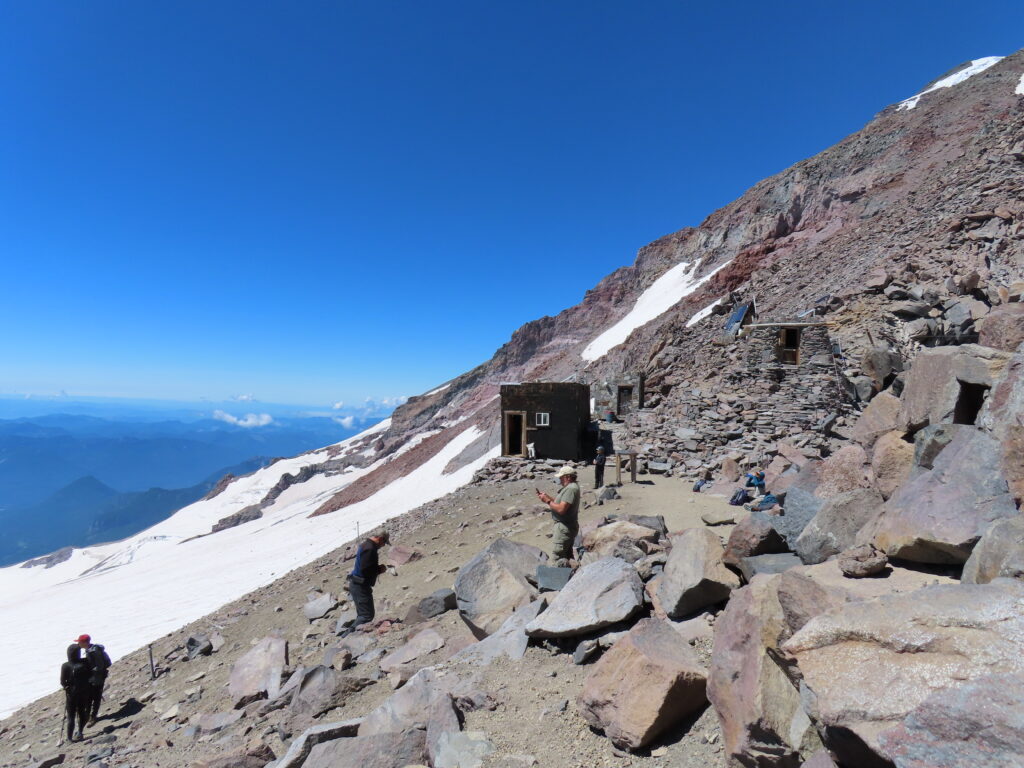
Camp Muir is a climber’s camp with an impressive stone shelter, a couple of outbuildings and toilets. Camping inside the shelter is on a first-come, first-serve basis. Climbers usually hike to Camp Muir the day before they climb to rest and acclimate to the altitude, a little over 3000 m. If the shelter is full, climbers pitch their tents on the snow. The stone shelter is named to honor the naturalist John Muir who made an ascent of Mount Rainier in 1888.
Itinearaly:
Day 4: Stay at the Cabin, Ashford
Day 5: Couger Rock Campground
Day 6: hiking to Camp Muir, 3100 m
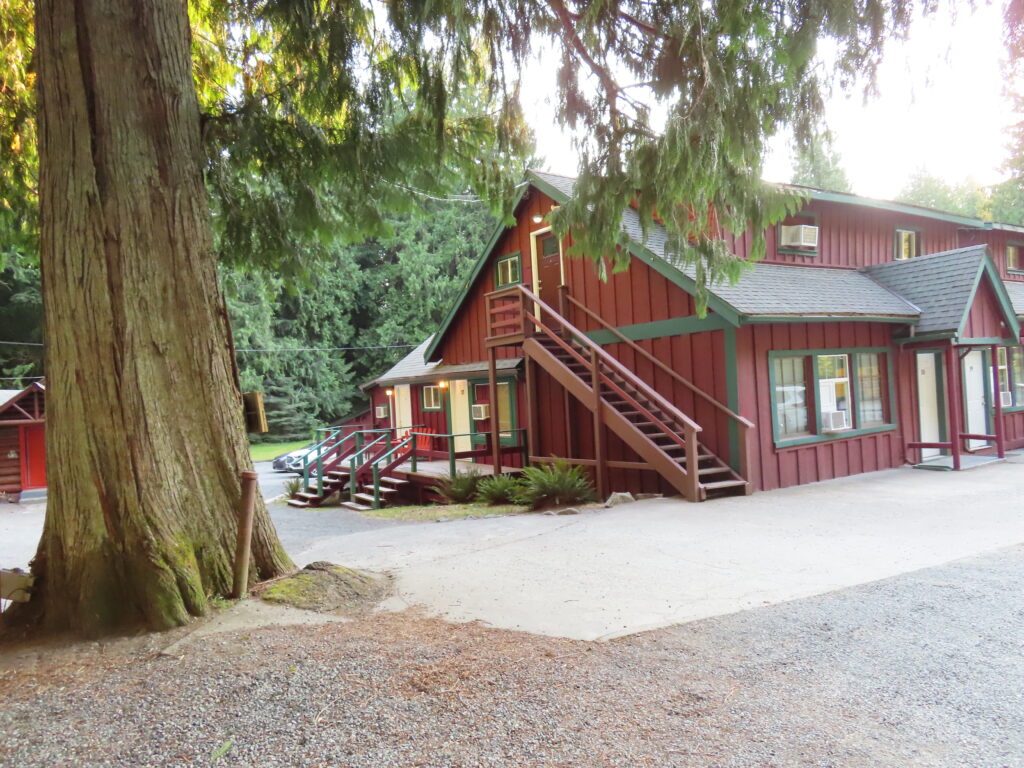
Day 4: Getting relaxed at the Cabin
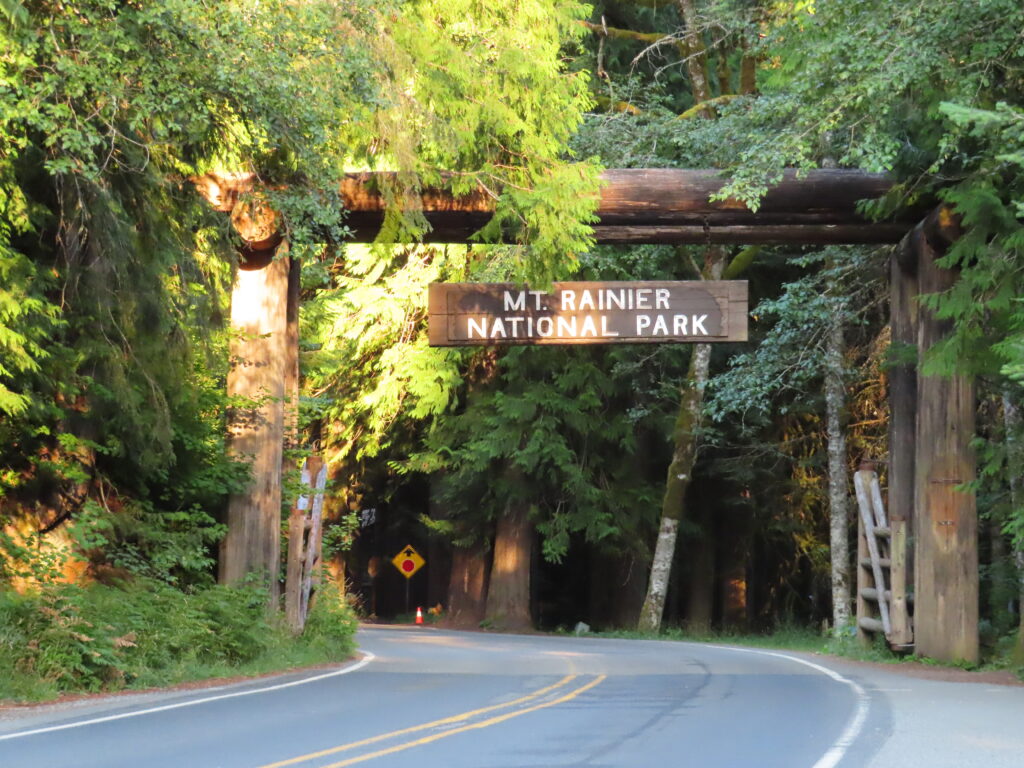
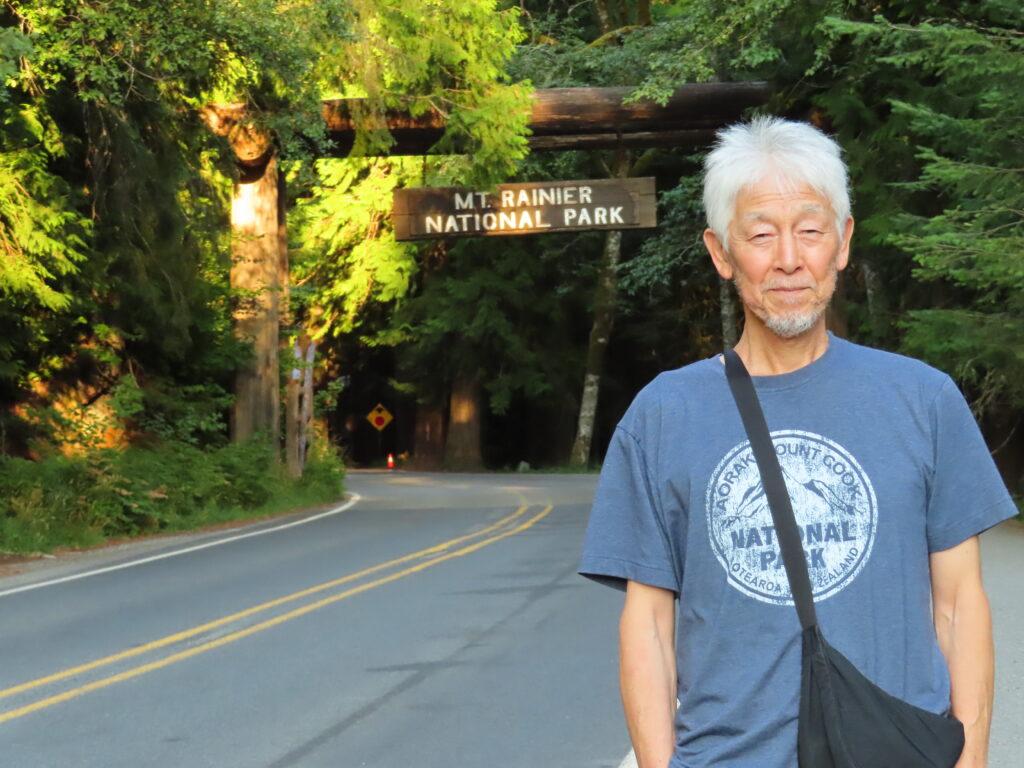
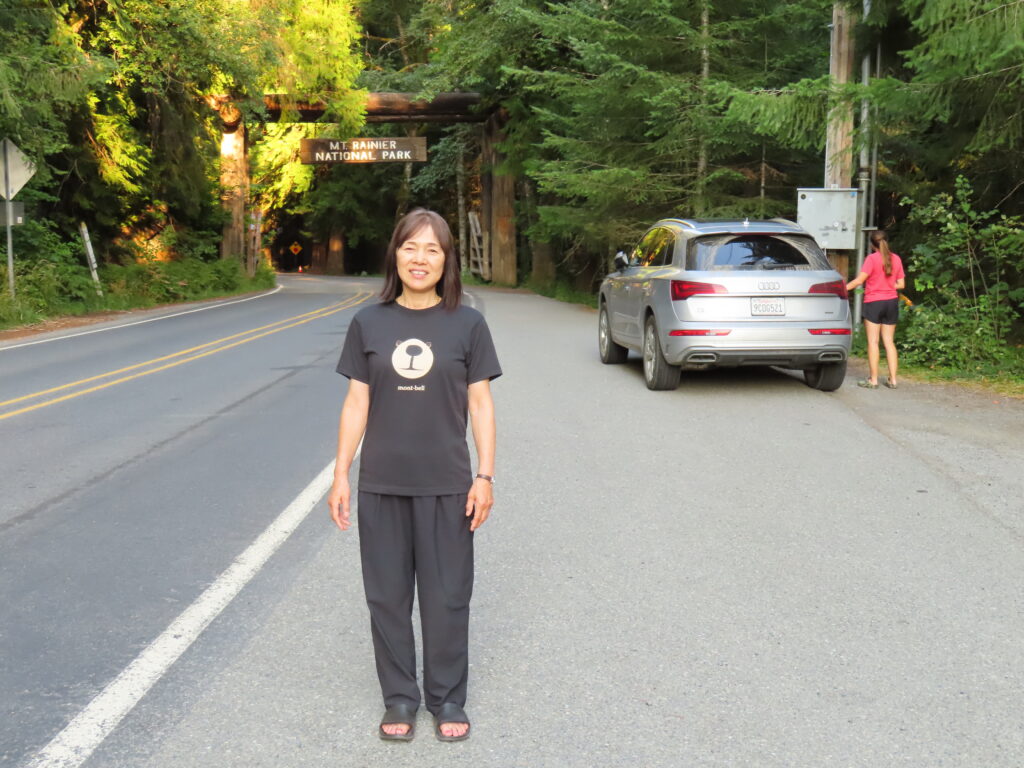
Day 5: Cheching out around the park
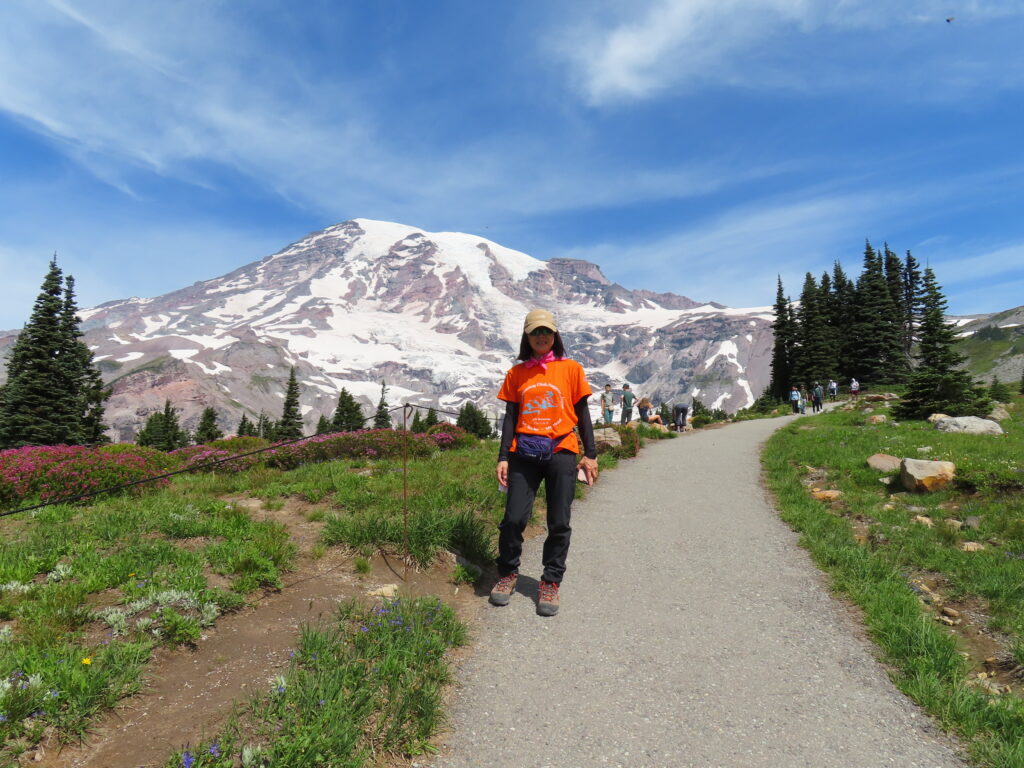
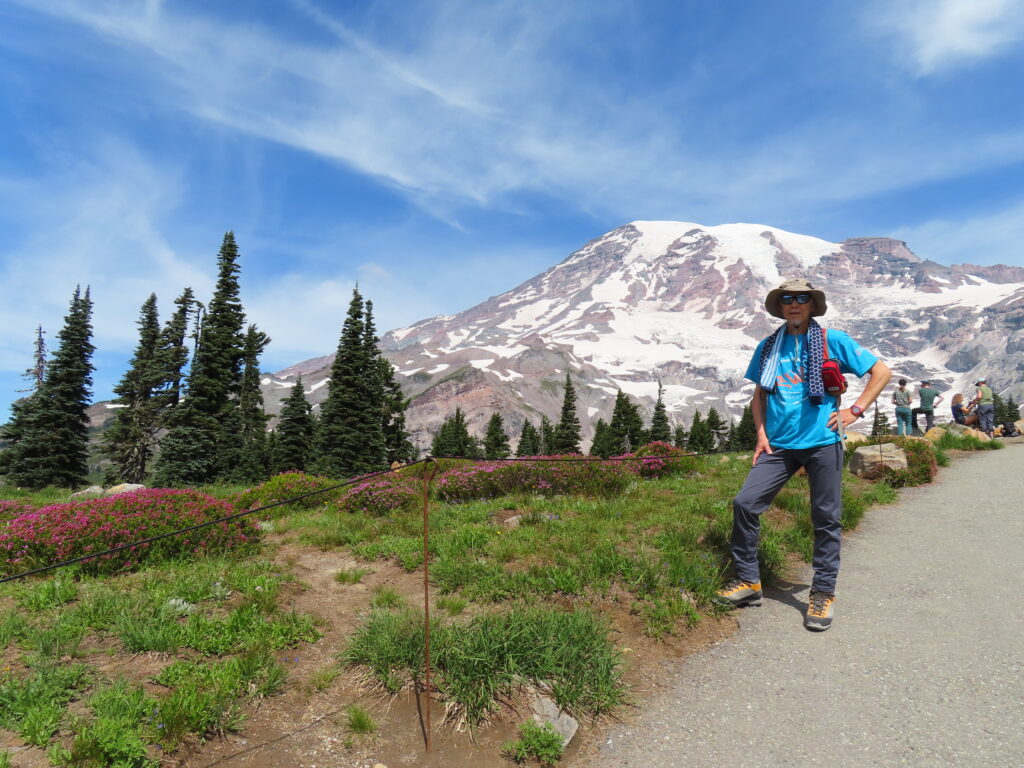
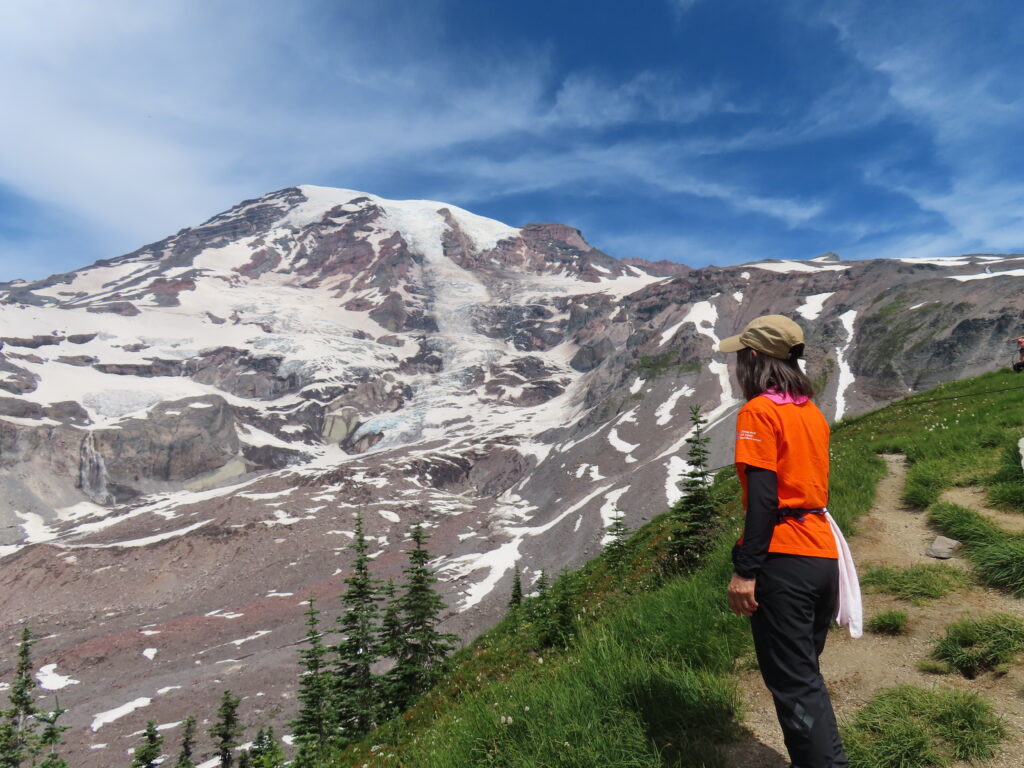
Day 6: Hiking to Camp Muir, over 3000 m
Camp Muir on the mountain is at the top of many hikers’ wish lists and for good reasons. It’s about as close as a hiker can get to a taste of a climbing experience.
- Area: Skyline Trail, Paradise
- Duration: 8-10 hrs
- Difficulty Level: Strenuos
- Elevation Start: 1646 m
- Elevation End: 3105 m
7:00 AM: The sky was clear with a gentle breeze—perfect weather for a hike. We began our ascent from the Skyline Trailhead at Paradise.
8:00 AM: We reached our first short break point. After this, the trail became more challenging, with steeper and rockier terrain.
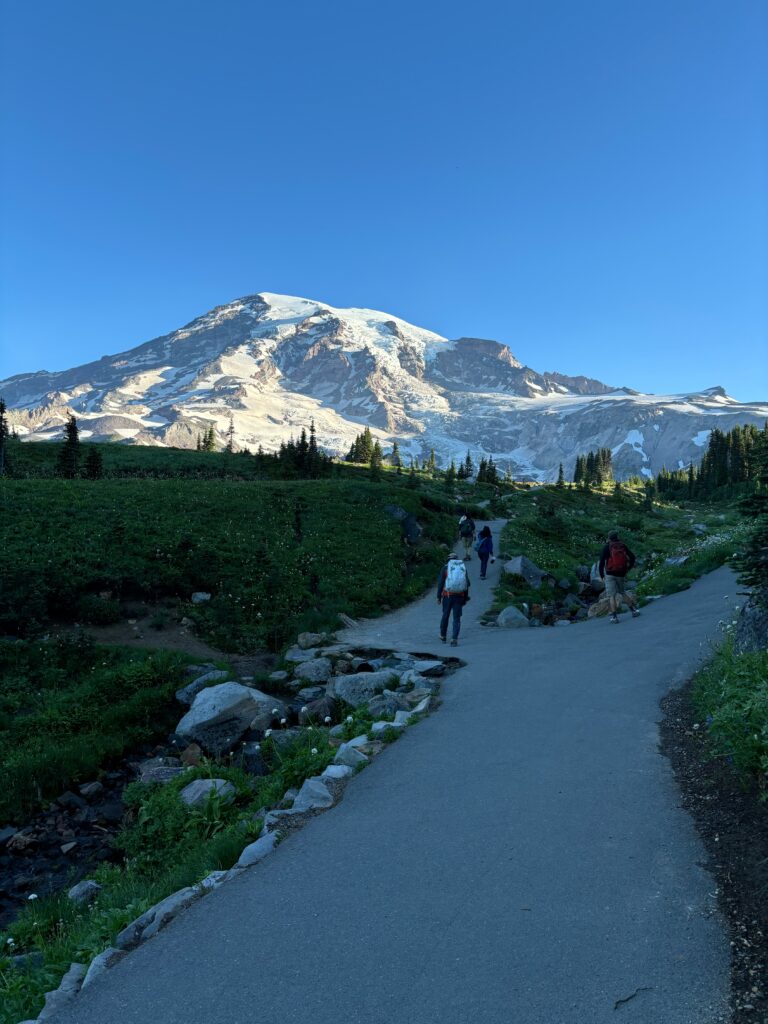
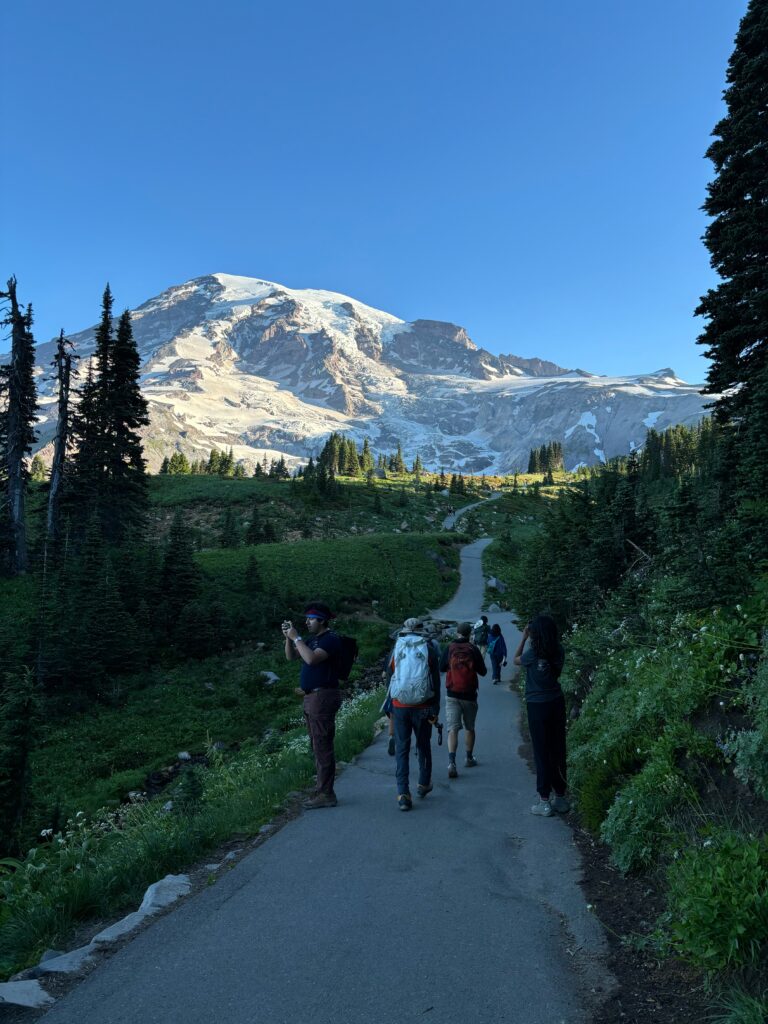
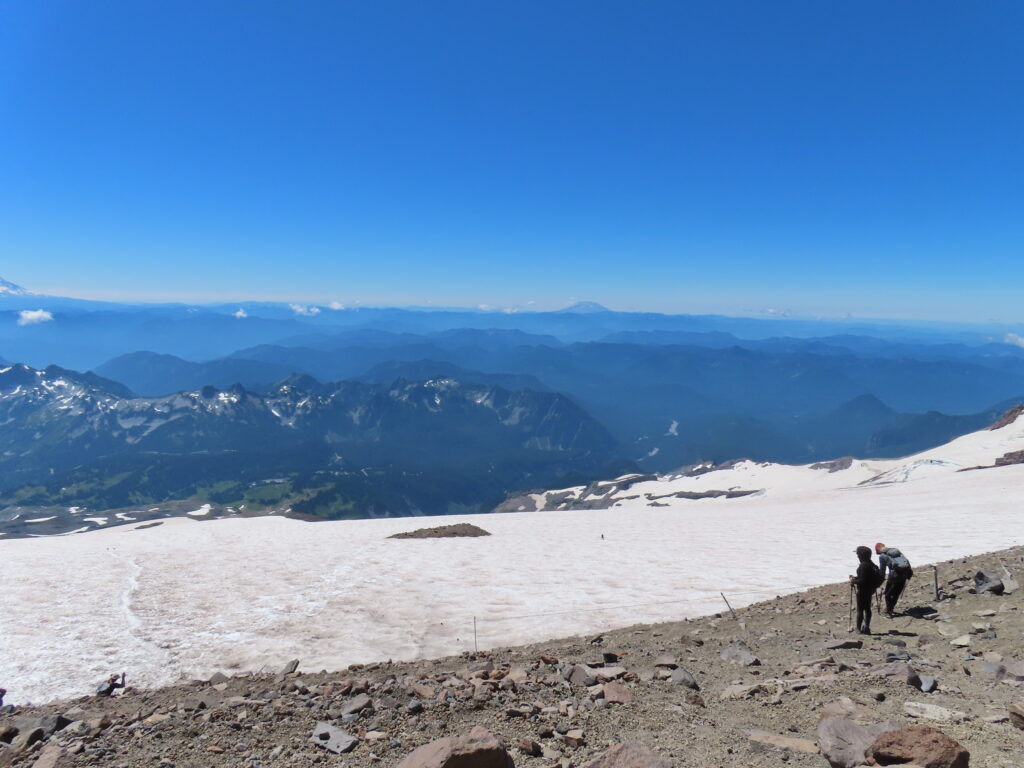
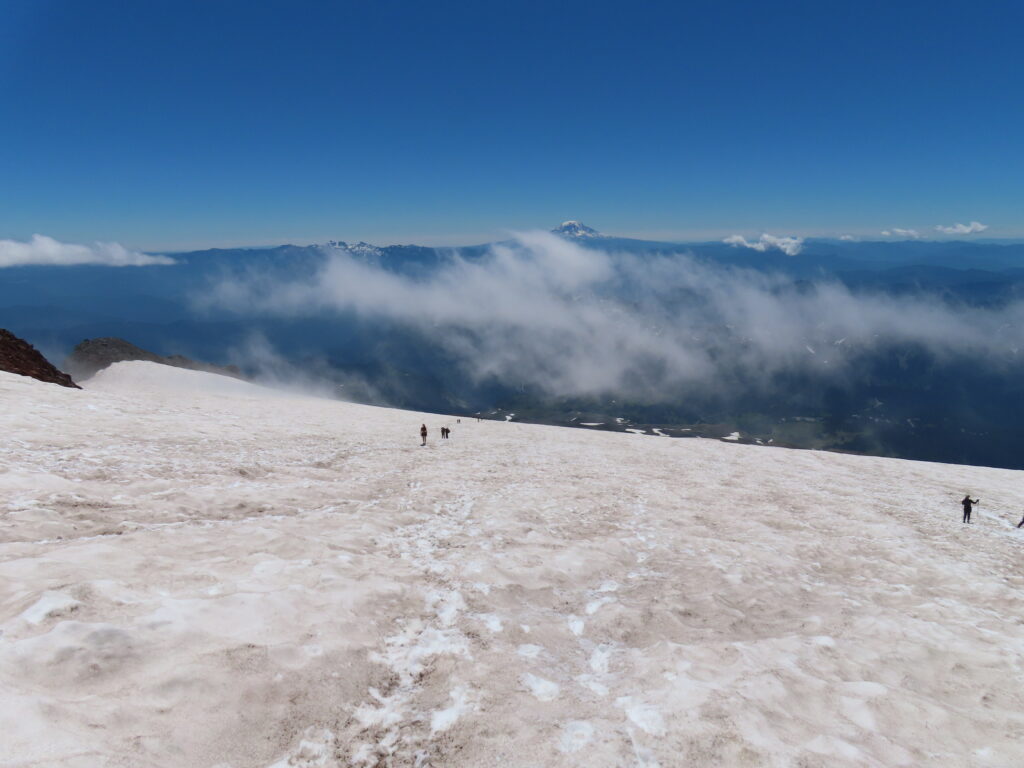
9:00 AM: It took about two hours to reach this point from the trailhead. From here, we put on crampons to tackle the uphill snowfield leading to our goal, Camp Muir.
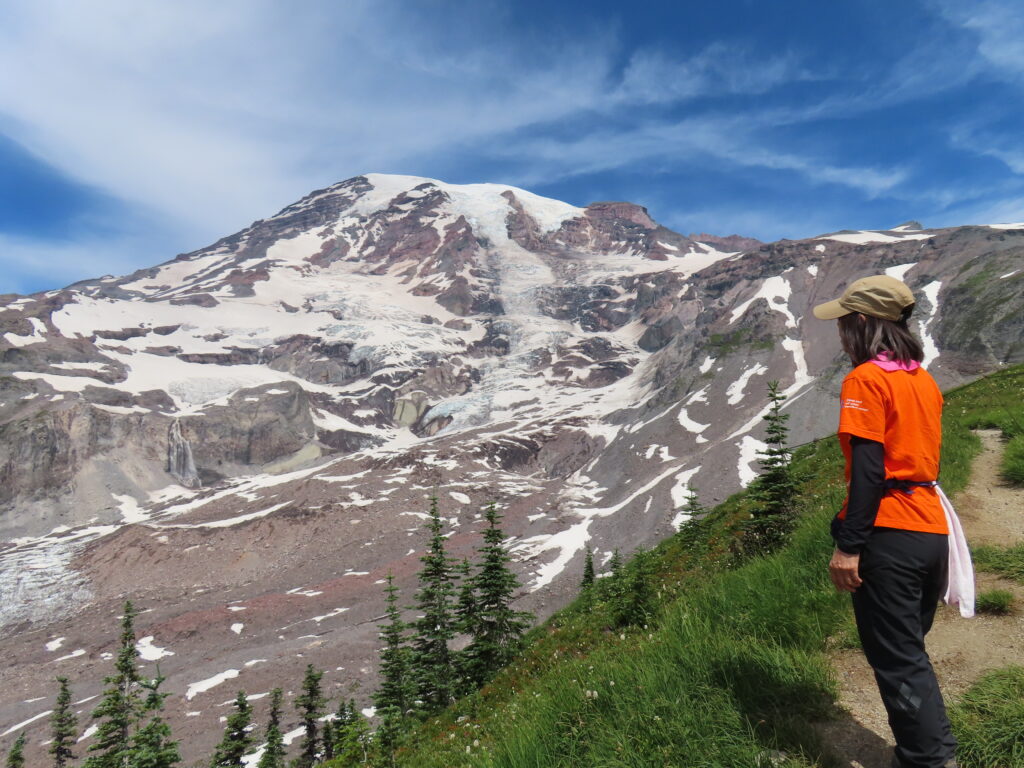
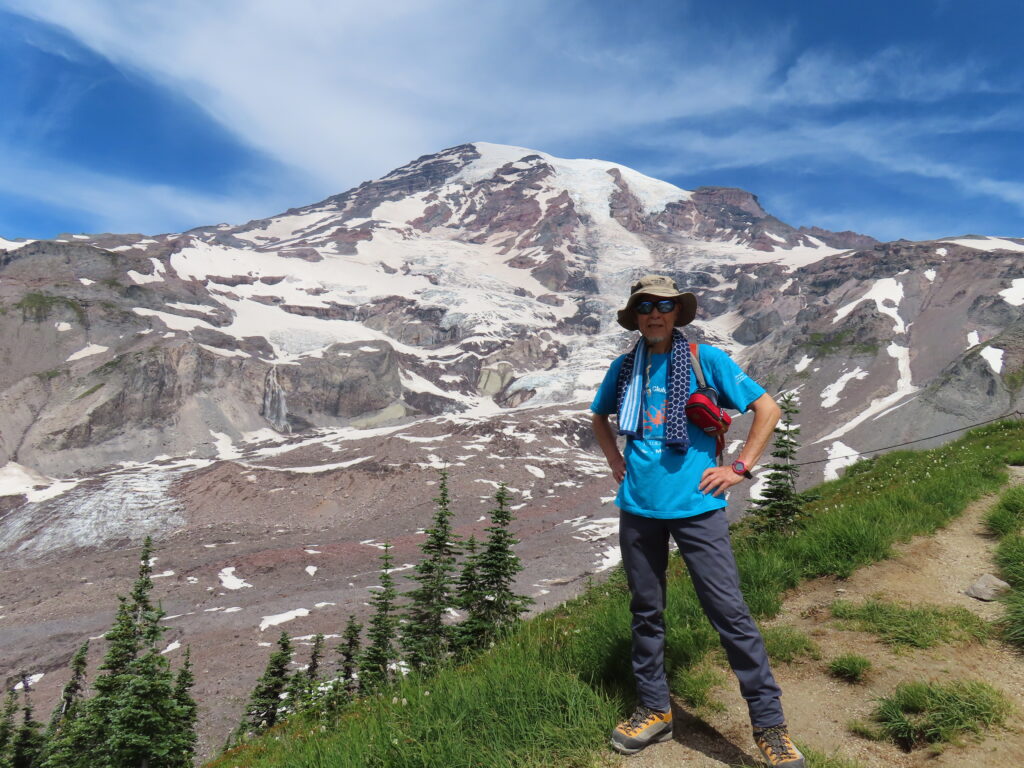
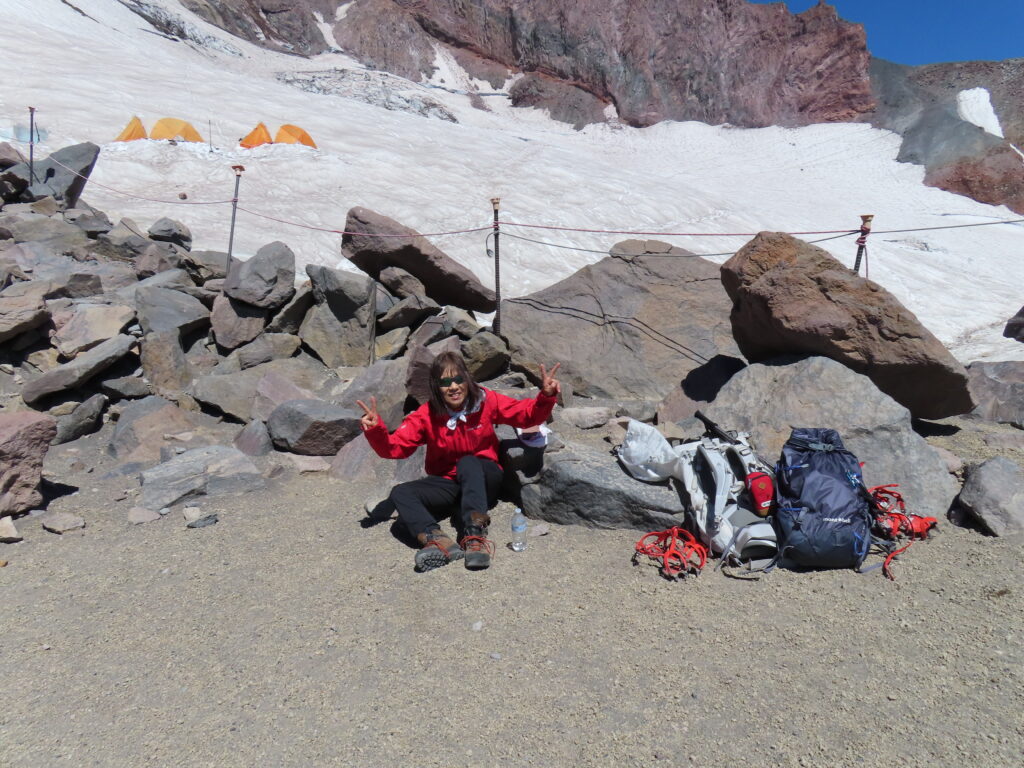
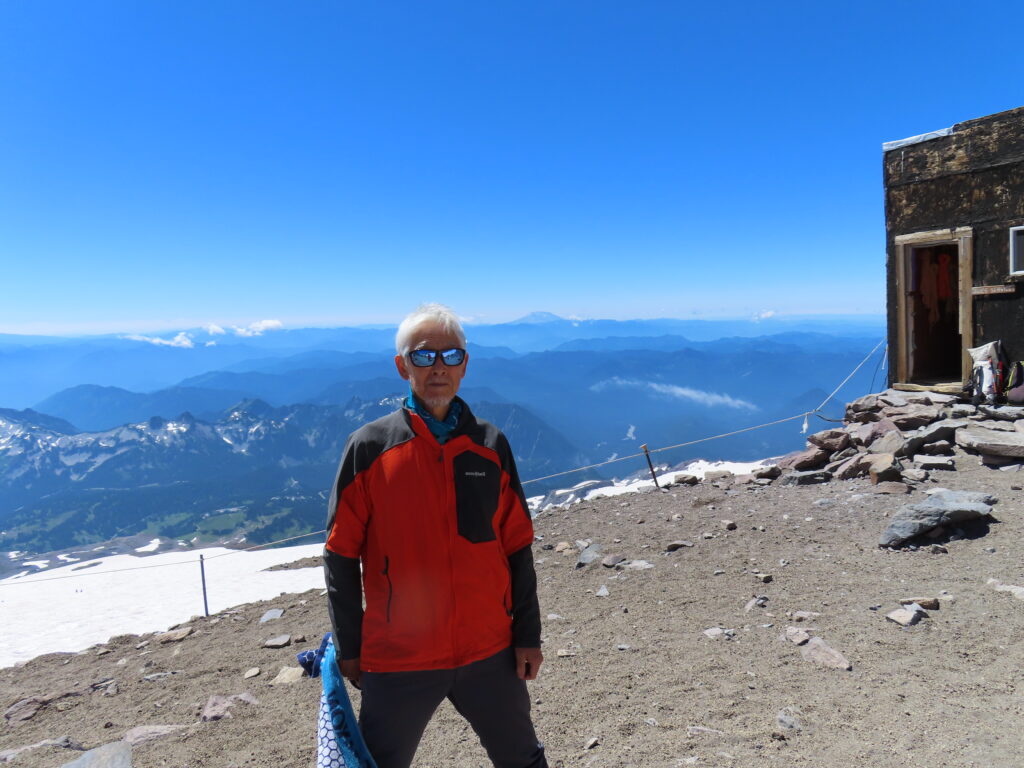
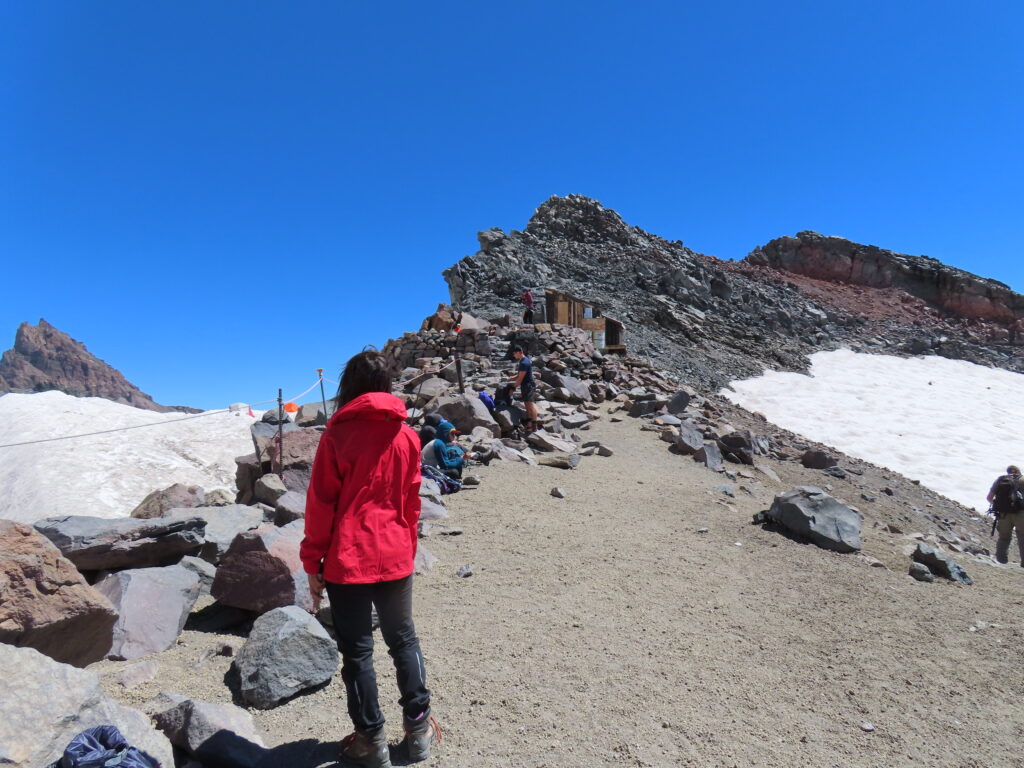
12:30 AM: Sachi and I did it! At least we stepped off the snow and took the last steps to Camp Muir, 3100 meters. This was my fifth attempt and Sachi’s first. It was a long, tough hike, and there were moments when Sachi felt like she couldn’t keep going, but she pushed through and made it. Congratilations Sachi!
Many hikers agree that the last 200-300 meters of the climb are the most difficult. The Muir snowfield seemed to stretch on forever before we finally saw the buildings. When Camp Muir came into view, it looked closer than it actually was, and it felt like we were making no progress at all as we climbed. I definitely agree with this.”
4:00 PM: We arrived at the Paradise succesfully and safely.
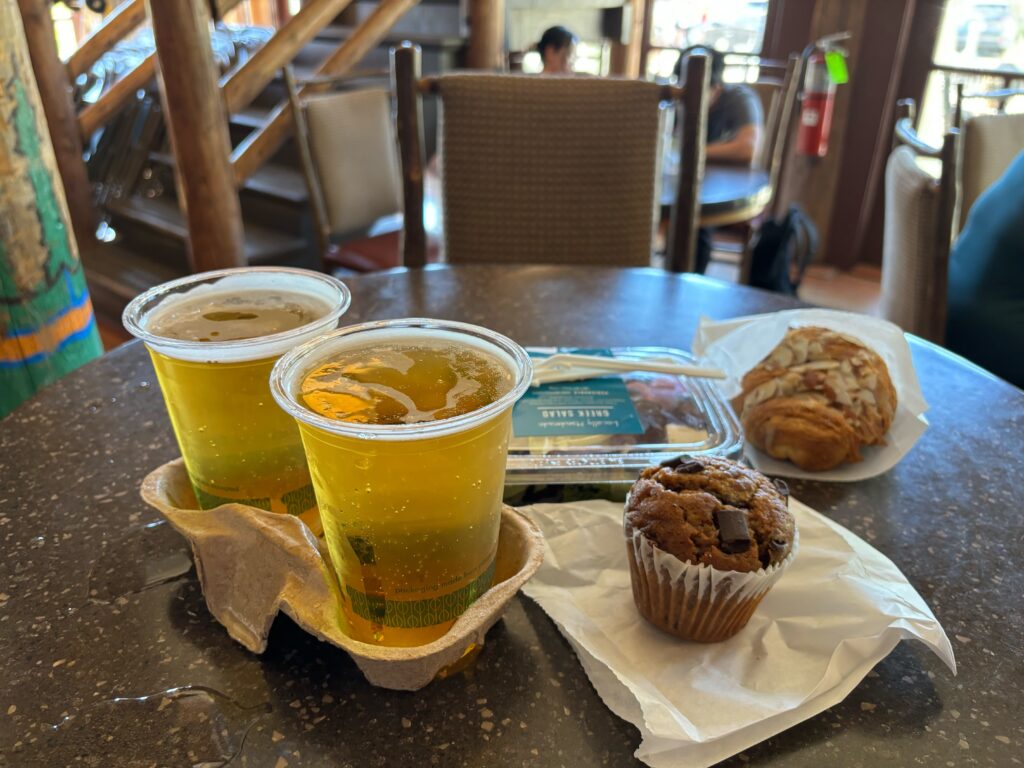
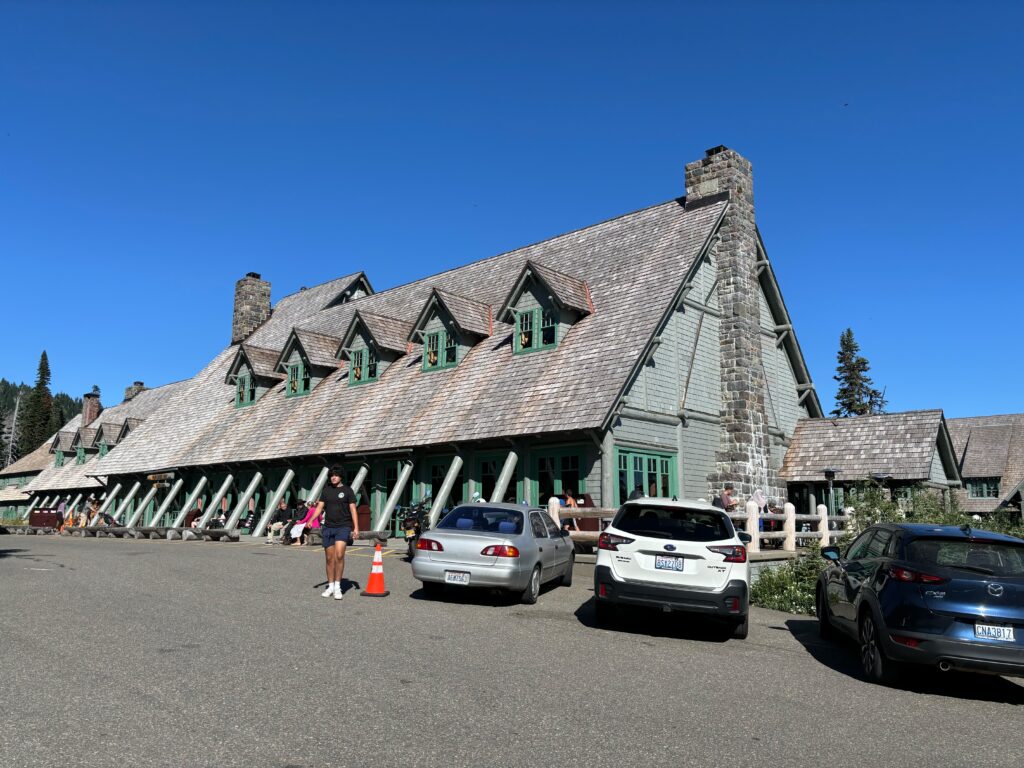
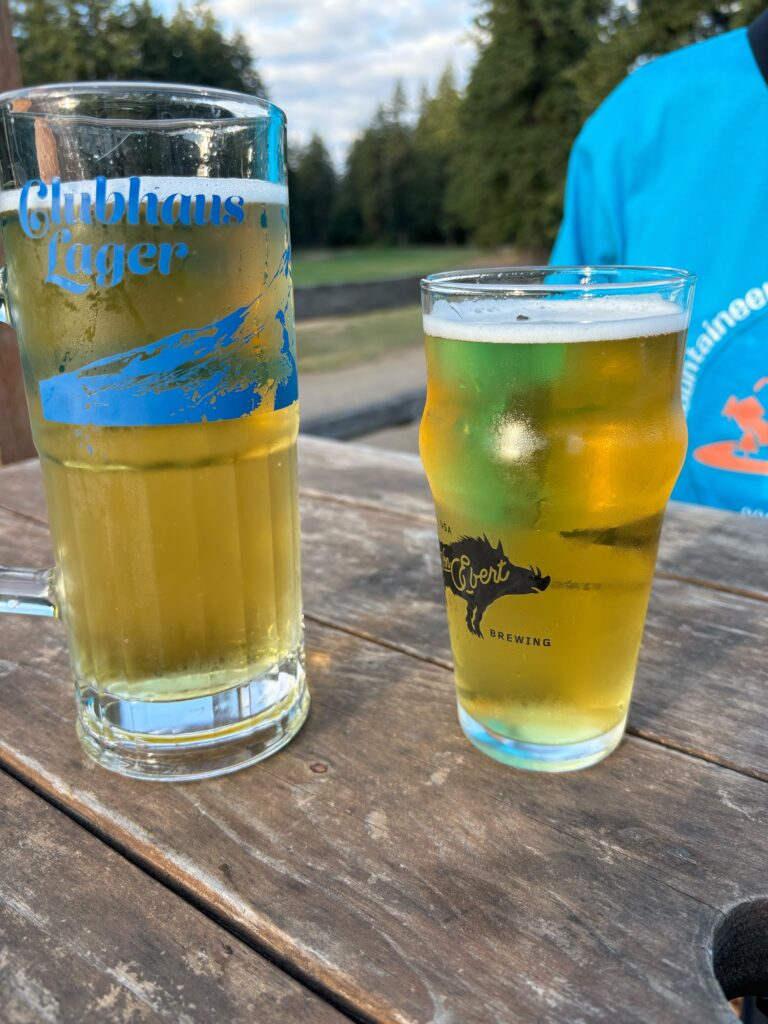
Drinking the beer after accompaniment hiking is the best!! Nothing beats the cold beer! Cheers Sachi, you made it.
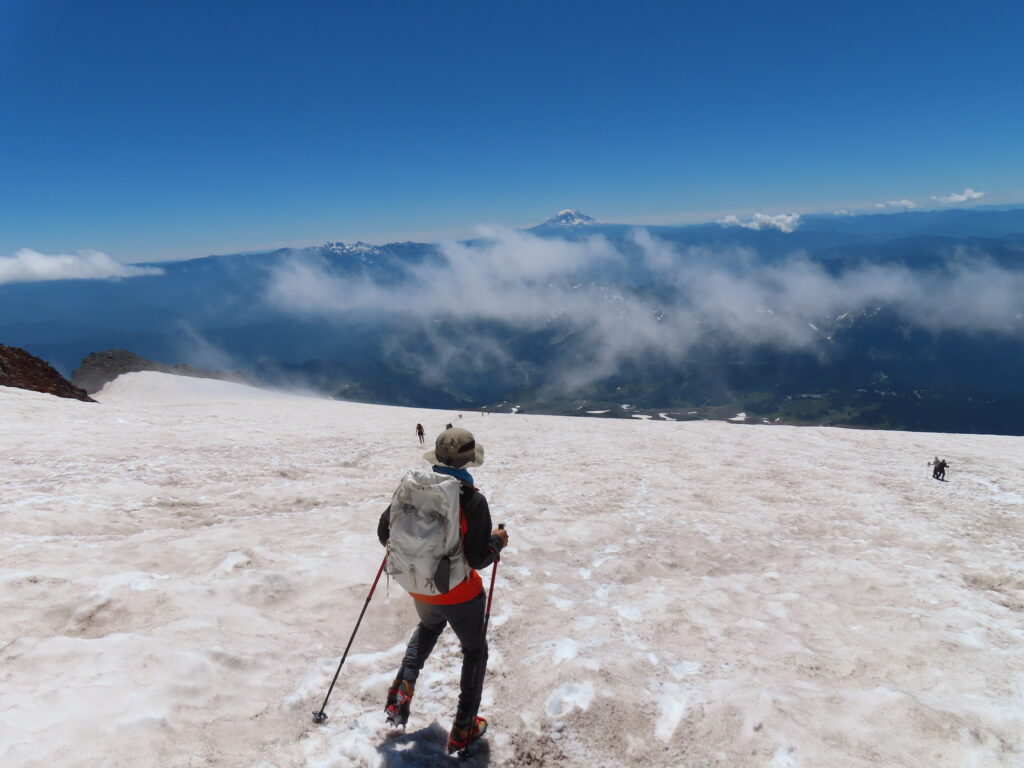
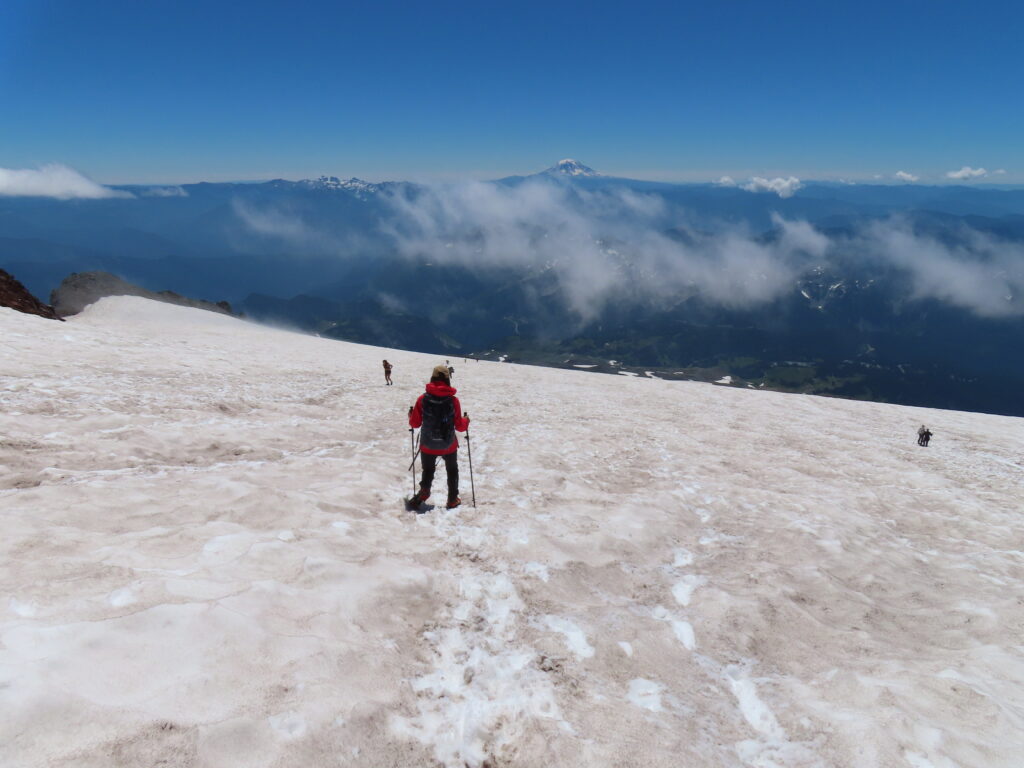
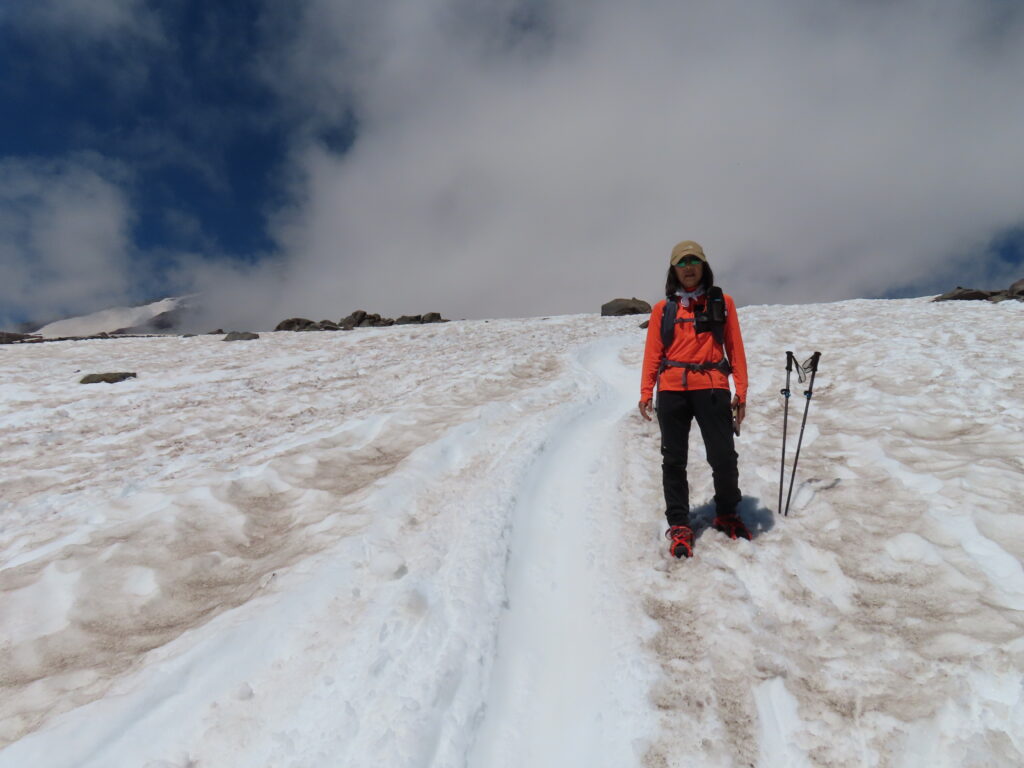
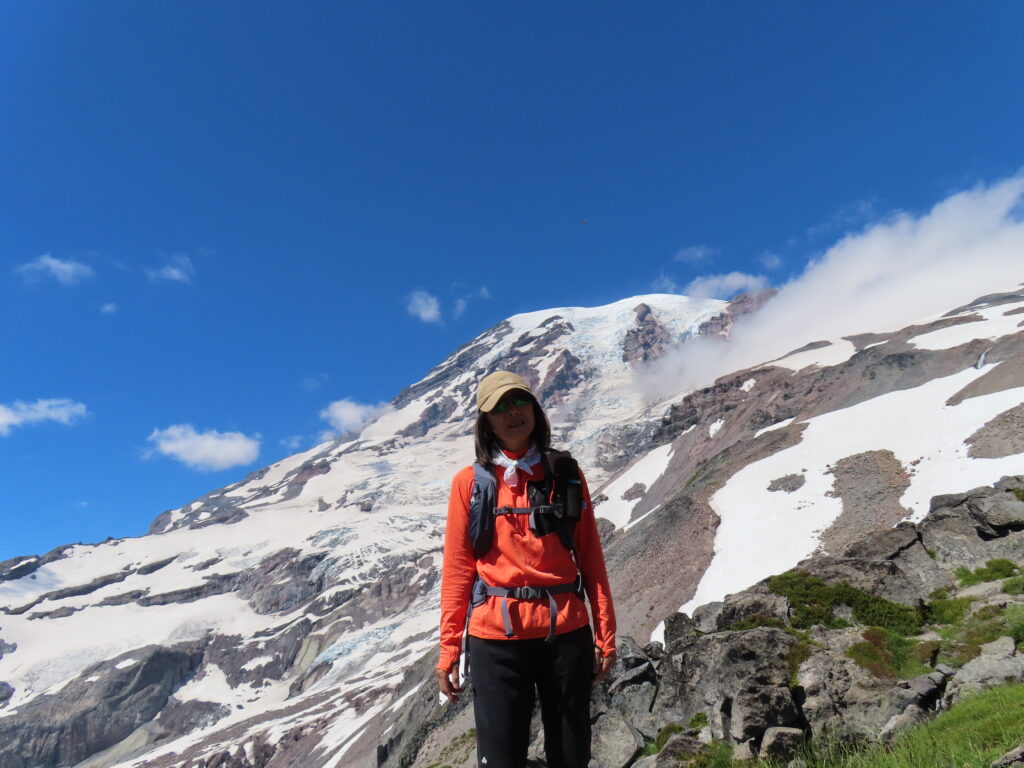
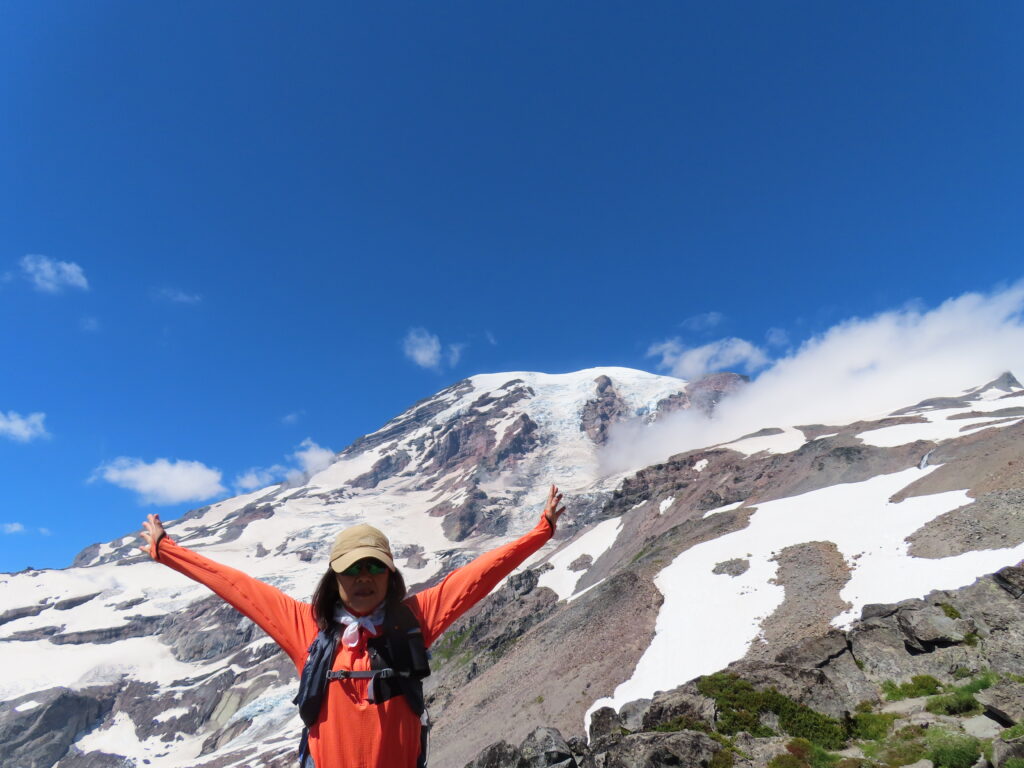
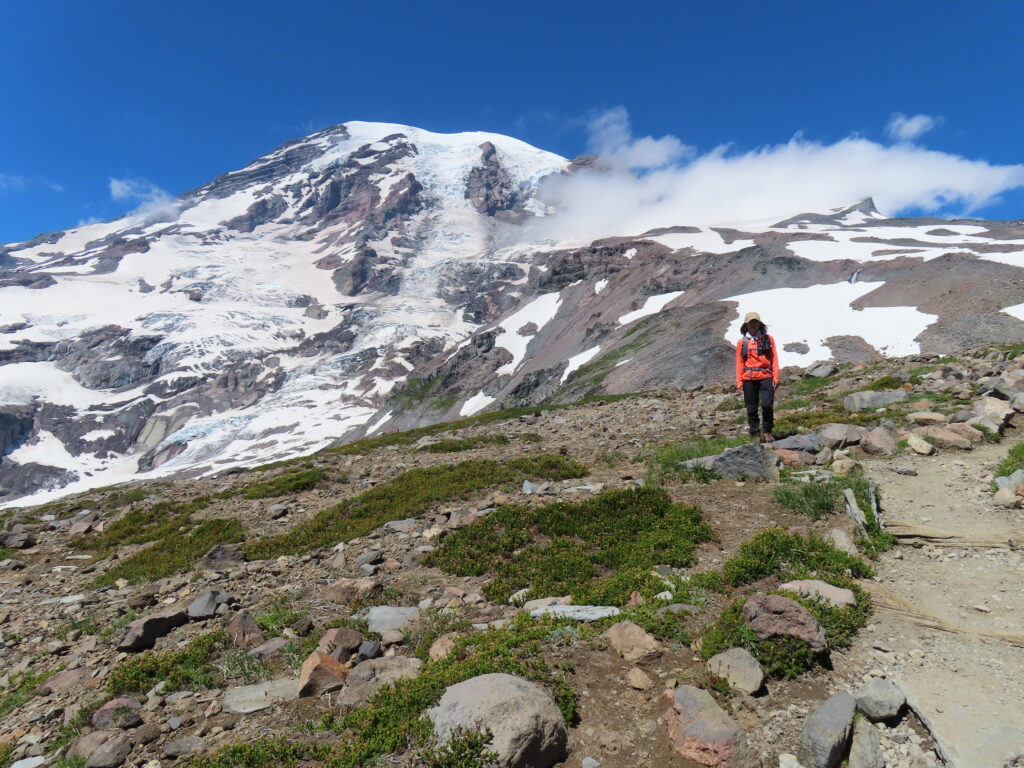
Thank you Sachi-san
Sachi, thank you for joining those explorations. I really appreciate everything you did.
We encountered some trouble at the U.S. border security checkpoint, and I was taken to the passport control room. The officer asked me many questions about my passport background, but eventually, everything was cleared up, and we were able to proceed.
As we returned to Japan, we had to stay an extra night at a hotel near Seattle Airport due to a failed connection between Alaska Airlines and Japan Airlines via Vancouver Airport, Canada. We needed to apply for the eTA system in advance to enter Canada, even though it was just for transit.

